What controls the process
- Start with intended use and an explicit finish line.
- Separate verified condition from inaccessible assumptions.
- Use documentation and approval gates to control discovery.
- Mock up connected systems before final coatings and upholstery.
- Finish with progressive testing and a serviceable project record.
The eight-stage framework
Define the outcome
Record how the vehicle should look, drive and be serviced. Separate preservation, factory-informed restoration, reliable-driver and restomod priorities instead of blending them into the word “restored.” List non-negotiable original features, desired modern behavior, intended roads, passengers and maintenance expectations. This brief becomes the reference used to judge parts, access and finish decisions later.
Survey condition
Inspect accessible structure, body, mechanical systems, documentation and previous repairs before disassembly changes the evidence. Photograph reflections, gaps, seams, corrosion, fluid leaks, wiring, glass, trim and incomplete areas. Note what can be verified from the outside and what remains an assumption. A condition survey is not a promise that nothing else will be found; it defines the questions the next access stage must answer.
Set the initial scope
Divide the work into confirmed needs, owner-requested changes, allowances and areas that require access before they can be priced or scheduled responsibly. Assign an approval gate to each uncertain area. The initial scope should also state who sources parts, how owner-supplied components are evaluated, which services may be outsourced and what documentation is expected when evidence changes the plan.
Inventory and document
Before removing parts, photograph routing, fastener positions, shims, gaps and component relationships. Label pieces with location and orientation, group hardware, record measurements and classify each item as reuse, restore, replace, missing or undecided. Inventory work can feel slow at the beginning, but it preserves information the assembled car currently holds and reduces guesswork months later.
Expose and reassess
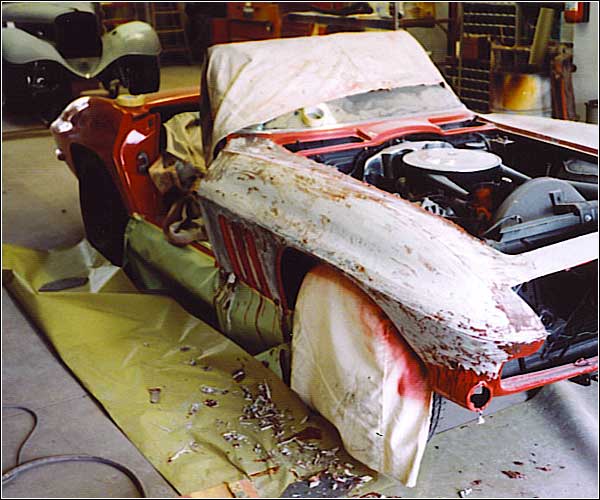
Use approved disassembly or coating removal to answer the remaining condition questions. The method should fit the substrate and the immediate protection plan. When hidden corrosion, prior repair or missing structure appears, stop at the planned decision point, document the evidence and revise only the affected scope. Discovery becomes manageable when it triggers a review rather than an automatic expansion.
Repair and mock up
Correct structure and metal in a sequence that preserves reference geometry. Reinstall doors, hood, deck lid, fenders and related parts as needed to verify gaps and style lines. Mock up the drivetrain, cooling, exhaust, steering, brakes, suspension, electrical routes, wheels, tires, glass, trim and interior controls before final coatings close access. The assembled test fit is where incompatible assumptions should be discovered.
Finish and protect
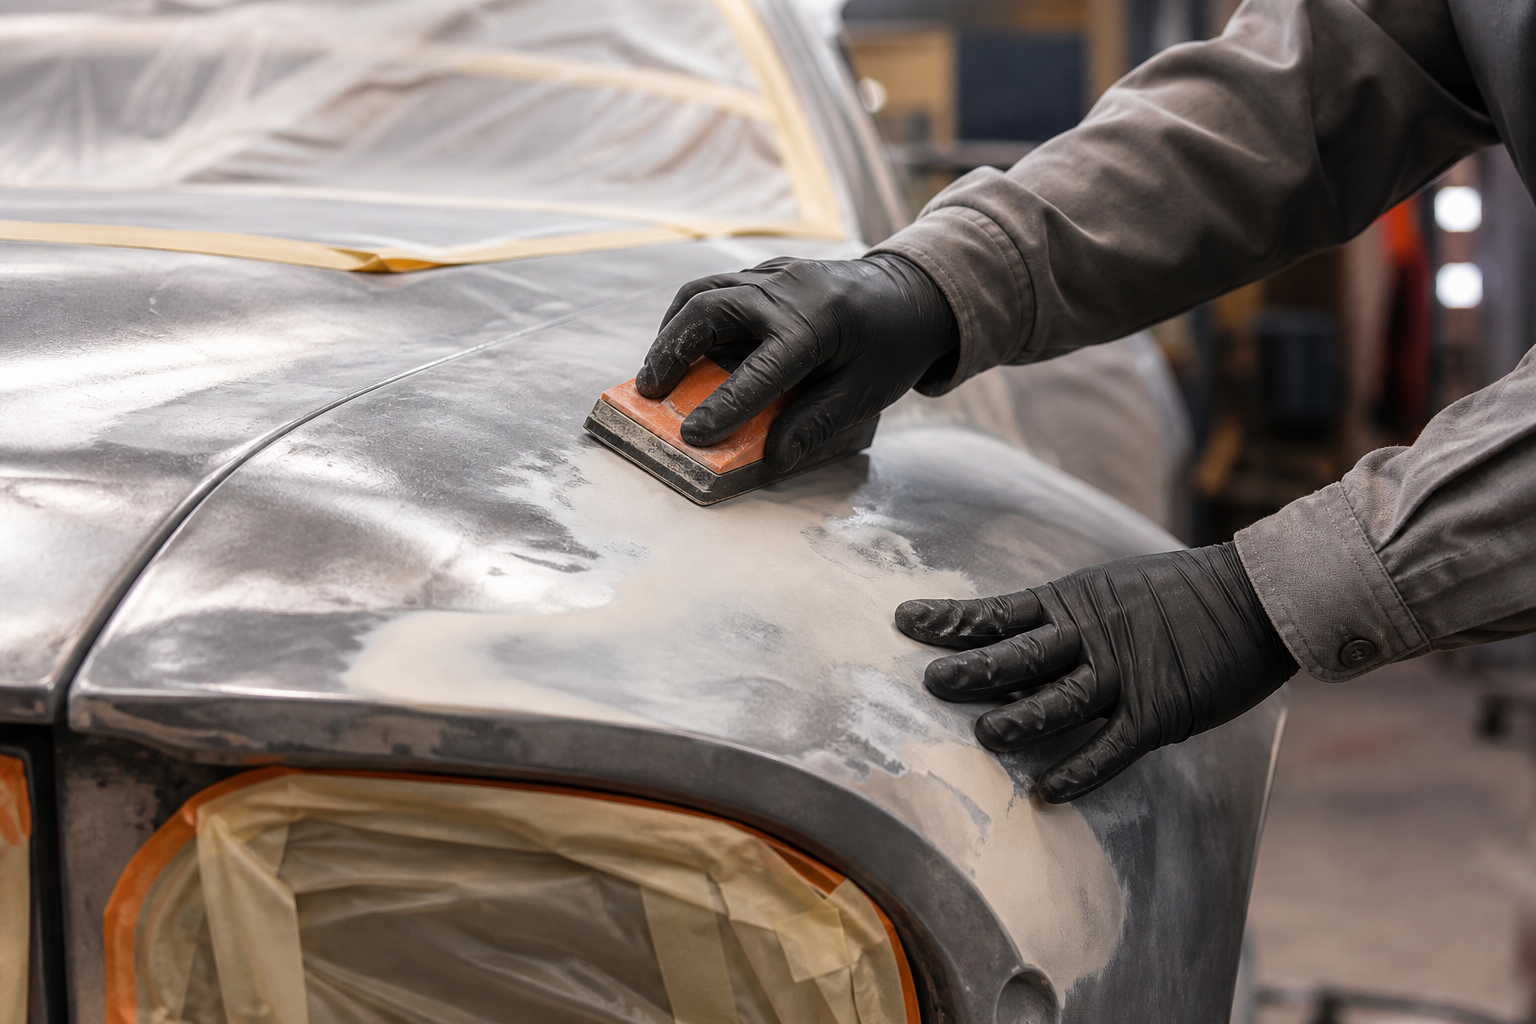
Approve the substrate and panel fit before the vehicle advances into surfacing and color. Use compatible cleaners, primers, sealers, color and clear according to current technical information. Restore seam, cavity and backside protection where access permits. Record formulas and process details. Cure, sanding and polishing stages should follow the agreed finish target without sacrificing required film build.
Reassemble and test
Return documented parts and systems in an order that protects finished surfaces and maintains service access. Verify fasteners, fluids, wiring protection, hose travel, brake function, alignment, charging, cooling, controls and leaks before progressive road testing. Delivery records should explain the final configuration, part numbers, settings, deviations from original specification and the first inspection or maintenance needs.
Why the stages can loop
Restoration is not perfectly linear. Metal exposure can change the parts plan; mock-up can reveal a packaging conflict; an available reproduction panel can require more correction than an original piece; a wiring or cooling choice can move an accessory and affect the body. A loop is not automatically a planning failure. The failure occurs when new evidence expands work silently or reaches a finished area before anyone resolves it.
A controlled loop produces four things: a documented finding, alternatives, an explanation of cost and schedule effects, and owner approval. That record separates condition-driven work from elective changes. It also preserves the reason a decision was made when the project is reviewed months later.
Owner responsibilities during the process
The owner should provide a consistent use case, disclose known history, identify parts already purchased and name any originality requirement that cannot be compromised. During the build, timely decisions matter. A shop cannot finalize gaps, controls, color, gearing or interior interfaces while key preferences remain open.
Owners also benefit from resisting “while we are here” changes until the full effect is understood. A different wheel may alter tire clearance, brakes and steering geometry. A transmission may affect tunnel, crossmember, driveshaft and axle ratio. Ask what else changes before approving the headline component.
What the final record should explain
The exact format varies, but useful records include the initial brief, condition photographs, measurements, inventory, approved scope changes, parts information and final service notes. A modified vehicle especially needs wiring diagrams, fuse and relay locations, calibration files, fluid and filter specifications, belt numbers, alignment settings and photographs of hidden routing.
Documentation does not make a restoration good by itself, but it makes the work understandable and the finished car more serviceable. It also helps a future owner or technician distinguish intentional configuration from an unknown modification.
Frequently asked questions
Is classic car restoration a linear process?
Not completely. Inspection, stripping, metal work and mock-up can reveal evidence that sends one area back to an earlier stage. The project stays controlled when each loop is documented and approved before finish work continues.
When should parts be ordered?
Long-lead planning can begin early, but major components should not be committed until condition, packaging and system compatibility are verified well enough to prevent expensive redesign.
What is a restoration decision gate?
It is a planned pause after new evidence becomes available. The owner reviews photographs, findings, alternatives, cost and schedule effects before authorizing the next stage.
Why mock up parts that will be removed again?
Mock-up proves fit, alignment, travel, routing and service access while changes can still be made without damaging final paint, coatings or upholstery.
What documentation should remain with the car?
Keep intake and disassembly images, measurements, parts records, wiring and routing information, paint formulas, calibration files, alignment settings, fluids, filters and approved scope changes.
How long does the process take?
There is no universal duration. Condition, access, parts lead times, fabrication, decision speed, finish standard, cure windows and testing all affect the schedule.
Define the first inspection gate.
Bring condition evidence, vehicle history and intended use to the initial conversation.