TL;DR
- Paint preparation starts with a verified substrate and completed structural repair.
- Coating removal must match the metal, contamination risk and immediate primer plan.
- Panel gaps and adjacent surfaces should be mocked up before final surfacing.
- Guide coat, block strategy and lighting reveal shape that gloss will later magnify.
- Material compatibility and cure windows should follow the current technical data sheets.
At-a-glance comparison
| Stage | Primary purpose | Approval evidence |
|---|---|---|
| Initial inspection | Separate visible condition from assumptions | Photos, measurements and repair map |
| Coating removal | Expose sound substrate without creating new damage | Clean surface and contamination plan |
| Metal and fit | Correct structure, panels and openings | Mock-up with adjacent parts installed |
| Epoxy and surfacing | Protect metal and refine shape | Product records, guide coat and block checks |
| Sealer and color readiness | Create a uniform, compatible base | Final inspection and approved spray-out |
Inspect before stripping
Old paint can hide filler edges, corrosion halos, cracking seams and incompatible layers. The useful question is not whether a popular component or procedure can be installed, but whether it solves the stated problem on this particular vehicle. Photograph reflections, gaps, chips, edges, jambs and the back side of accessible panels before removal begins. Record the current condition and the intended result before the build commits to parts, fabrication or finish work. That baseline gives the owner and shop something concrete to compare when a discovery or alternative changes the plan.
Removing everything without a condition record erases clues about why a previous finish failed. This is where an isolated decision can create downstream work in packaging, materials, controls, alignment, service access or later repair. Choose test areas and a removal plan that preserve evidence long enough to guide repair. Put that decision in writing, identify what evidence would cause it to change and confirm which other systems must be checked before approval. The extra discipline is small compared with redoing finished work because an assumption was treated as a fact.
Choose the removal method by substrate
Steel, aluminum, fiberglass and delicate exterior panels do not tolerate the same heat, pressure, chemistry or dwell time. The useful question is not whether a popular component or procedure can be installed, but whether it solves the stated problem on this particular vehicle. Identify panel material, thickness, shape, previous coatings and where residue could become trapped. Record the current condition and the intended result before the build commits to parts, fabrication or finish work. That baseline gives the owner and shop something concrete to compare when a discovery or alternative changes the plan.
Aggressive blasting can distort sheet metal, while chemical or soda residue can interfere with later coatings if it is not managed correctly. This is where an isolated decision can create downstream work in packaging, materials, controls, alignment, service access or later repair. Match the method to each part and have the next cleaning and primer step ready before bare surfaces are exposed. Put that decision in writing, identify what evidence would cause it to change and confirm which other systems must be checked before approval. The extra discipline is small compared with redoing finished work because an assumption was treated as a fact.
Finish metal work before cosmetic straightening
Filler and surfacer should refine a stable shape, not bridge active rust, loose seams or moving structure. The useful question is not whether a popular component or procedure can be installed, but whether it solves the stated problem on this particular vehicle. Verify welds, backside protection, mounts, braces and the fit of every panel that controls the opening. Record the current condition and the intended result before the build commits to parts, fabrication or finish work. That baseline gives the owner and shop something concrete to compare when a discovery or alternative changes the plan.
Late welding or alignment changes can crack finished filler and move gaps after hundreds of hours of preparation. This is where an isolated decision can create downstream work in packaging, materials, controls, alignment, service access or later repair. Create a metal-complete approval point before the body advances into full surfacing. Put that decision in writing, identify what evidence would cause it to change and confirm which other systems must be checked before approval. The extra discipline is small compared with redoing finished work because an assumption was treated as a fact.
Treat panel fit as part of paint preparation
A straight panel can still look wrong when its crown, edge or style line disagrees with the parts around it. The useful question is not whether a popular component or procedure can be installed, but whether it solves the stated problem on this particular vehicle. Install doors, hood, deck lid, fenders, latches, hinges and representative seals as needed to evaluate the assembled body. Record the current condition and the intended result before the build commits to parts, fabrication or finish work. That baseline gives the owner and shop something concrete to compare when a discovery or alternative changes the plan.
Painting panels separately without reference marks or completed fit work increases edge damage and inconsistent alignment during assembly. This is where an isolated decision can create downstream work in packaging, materials, controls, alignment, service access or later repair. Document shims, reference holes, fastener positions and gap targets before pieces come apart for finishing. Put that decision in writing, identify what evidence would cause it to change and confirm which other systems must be checked before approval. The extra discipline is small compared with redoing finished work because an assumption was treated as a fact.
Use guide coat and repeatable block strategy
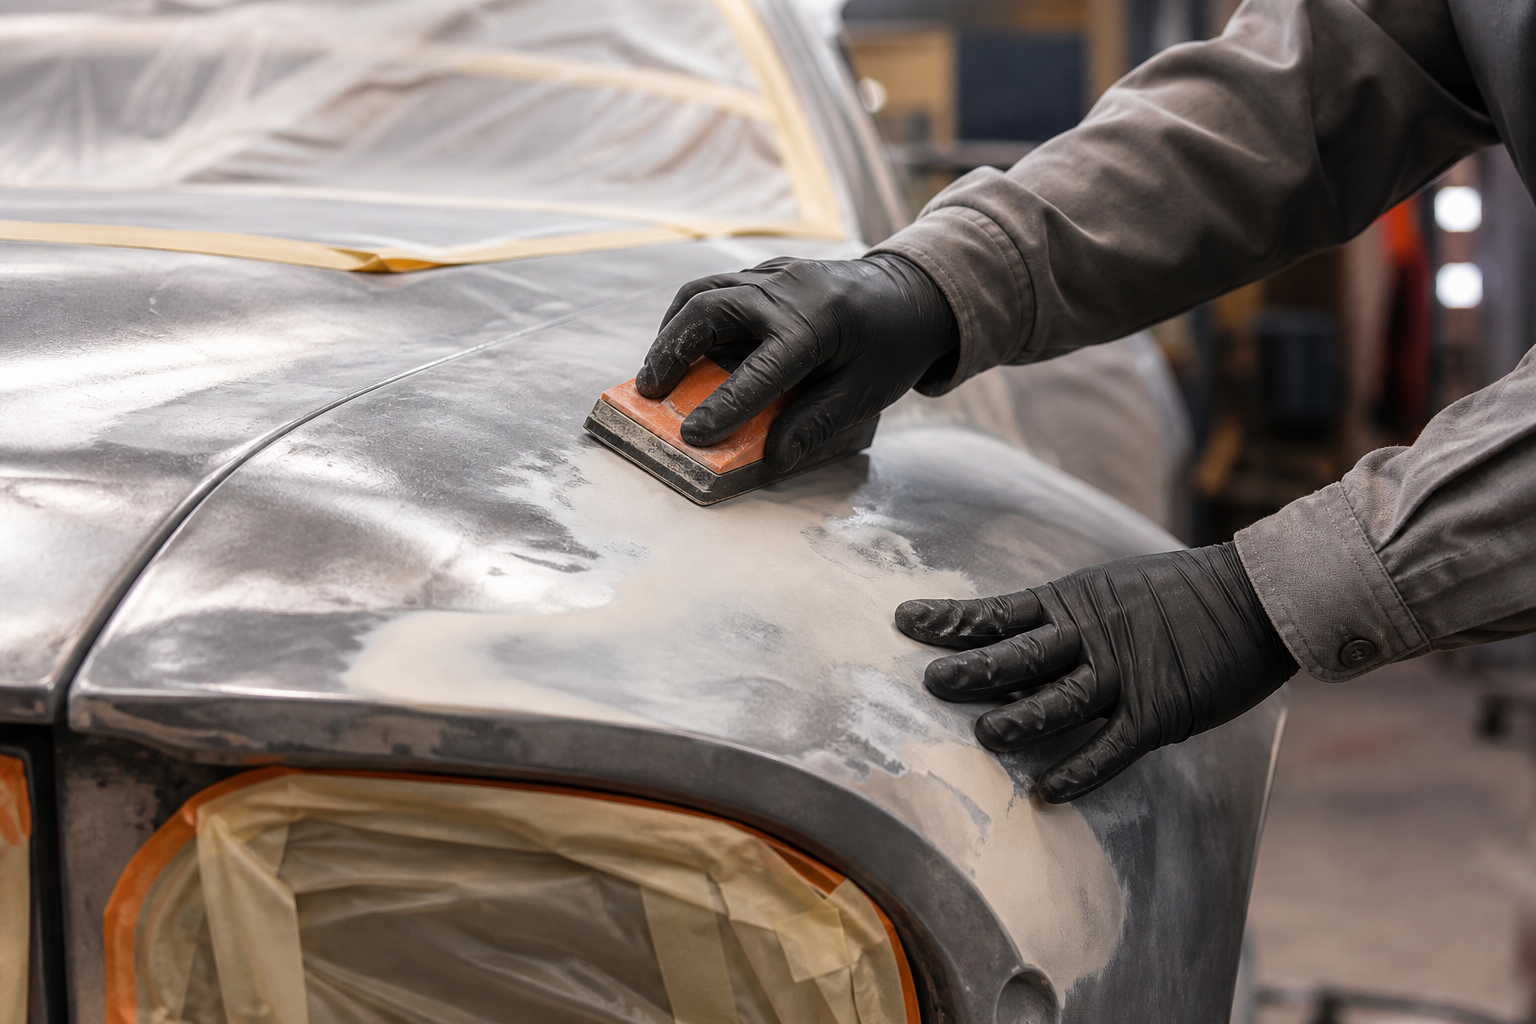
Guide coat converts subtle highs, lows and sanding scratches into visible evidence. The useful question is not whether a popular component or procedure can be installed, but whether it solves the stated problem on this particular vehicle. Evaluate the surface under long reflections and multiple light angles rather than judging only by touch. Record the current condition and the intended result before the build commits to parts, fabrication or finish work. That baseline gives the owner and shop something concrete to compare when a discovery or alternative changes the plan.
Random sanding can soften body lines, roll edges and create a surface that looks acceptable in primer but waves under clear. This is where an isolated decision can create downstream work in packaging, materials, controls, alignment, service access or later repair. Define block length, direction, grit progression and the point at which another correction cycle is justified. Put that decision in writing, identify what evidence would cause it to change and confirm which other systems must be checked before approval. The extra discipline is small compared with redoing finished work because an assumption was treated as a fact.
Verify the complete material stack
Cleaner, epoxy, filler, surfacer, sealer, base and clear function as a system with specific recoat and cure requirements. The useful question is not whether a popular component or procedure can be installed, but whether it solves the stated problem on this particular vehicle. Collect the current technical data sheet for every product and record batch, mix, reducer, hardener and environmental conditions. Record the current condition and the intended result before the build commits to parts, fabrication or finish work. That baseline gives the owner and shop something concrete to compare when a discovery or alternative changes the plan.
Mixing unverified products or missing a recoat window can create adhesion, solvent or shrinkage problems that appear after delivery. This is where an isolated decision can create downstream work in packaging, materials, controls, alignment, service access or later repair. Lock the approved stack and require a documented exception whenever a material changes. Put that decision in writing, identify what evidence would cause it to change and confirm which other systems must be checked before approval. The extra discipline is small compared with redoing finished work because an assumption was treated as a fact.
Step-by-step checklist
Write the finish target
Define driver, factory-character, custom or show-oriented expectations, including jambs, underside, engine bay and normally hidden areas.
Create a condition map
Photograph defects and previous repairs, then mark which areas need testing, stripping, metal access or dimensional checks.
Sequence stripping and protection
Choose removal methods by part and schedule cleaning and epoxy protection so bare metal does not sit exposed.
Complete metal and panel mock-up
Resolve rust, welds, gaps, hinges, latches and adjacent-panel relationships before full-body surfacing.
Surface with documented checks
Use guide coat, controlled blocking and inspection lighting through each primer cycle.
Approve sealer and spray-out
Confirm the material system and physical color sample before the vehicle enters the color stage.
What to remember
- Preparation owns the finish even though color gets the attention.
- Use different removal methods where different substrates demand them.
- Make panel fit and mock-up a formal approval gate.
- Follow current product data instead of inherited shop folklore.
- Preserve records for later repair and color matching.
Frequently asked questions
How far should a classic car be stripped before paint?
Only as far as the condition and finish goal require, but failing layers, corrosion and unknown repairs often justify bare-substrate access in affected areas. The plan can vary by panel.
Can primer hide small waves?
Primer-surfacer can help refine minor texture, but it should not substitute for stable metal, correct panel shape or intentional filler work. Gloss will reveal remaining waves.
Why use epoxy primer on bare metal?
A compatible epoxy can provide adhesion and corrosion protection within a documented coating system. The exact preparation and recoat procedure must follow its current data sheet.
Should doors and fenders be aligned before painting?
Yes, at least through a complete mock-up. Adjacent panels establish gaps, style lines and edge relationships that are difficult to correct after finish work.
What is guide coat for?
It highlights sanding scratches, lows, highs and texture during blocking so the surface is evaluated by evidence instead of memory or touch alone.
How do I compare paint estimates?
Ask what removal, metal work, panel fit, primer cycles, jambs, disassembly, materials, sanding, polishing and reassembly are included. A price without scope is not comparable.
Sources and further reading
Use these primary and industry resources to verify current rules and technical guidance.
Start with a clear scope.
Bring the vehicle details, condition evidence and intended use to the first conversation.